Wednesday 25 May 2016

Atmospheric Sydney: Shooting with Just One Lens

On our recent How to WOW! Class field trip to Sydney Harbour  decided to bring along a camera - I normally do this but rarely have the time to actually shoot anything because I'm looking after the students. I made a conscious decision to not bring the sort of lens I normally bring: the Canon EF24-105mm f4 zoom. Instead I decided to bring lenses that I rarely use: the EF100-400mm f4.5-5.6 USM zoom telephoto and the 14mm f2.8 fisheye.
After seven hours shooting, I only used the 100-400m lens. Nothing else.
Sometimes restricting yourself to one lens is a good idea because it forces you to think a bit harder about composition and framing rather than just swapping lenses to get the shot...


Five frame HDR processed using Aurora Pro HDR software.
It's a very tricky exposure shooting into the sun on a heavily smoggy Sunday. Quite by accident the process produced a black and white surround and a mostly colourful central subject.
Comms arials on top of the Onslow, Maritime Museum, Darling Harbour
Smoke-filled space between the HMAS Vampire and HMAS Onslow
400mm shot, lined up along the lines of Wharf 10
Looking down-harbour from Darling Harbour to Goat Island ans Waverton in the far distance

Reflections
Marina in Darling Harbour
Waratah steam tug returning after a day on the harbour

Thursday 19 May 2016

House Construction Photo Project #8 May 2016, the end approacheth...

And then, when everything seemed to be going so sloooow,  the roof went on.
All of a sudden we had a real roof on the house  - actually it only took the roofies two days or so to get 80% of the roof in place. Essentially a stapling job with premeasured and precut steel.

It  took another two weeks to finish the rest of the roof - mostly the capping around the edges. During this time we had some heavy rain storms in Sydney so a lot of water poured into the house, down the walls and through the gaps in the capping.
The metal capping looks, at least from the ground, like a massive tinfoil tray bent over the edges of the brick, to form a large lid.

The roofies also dropped in 2.5cms of space age insulation under the steel roof. After a lot of thought, we asked for more insulation to be added once the [interior] gyprock was installed inside, in the hope it might quieten heavy rain, or hail, on the flat (metal) roof.  The builder added insulation to the value of 4.5 - which is acoustic and heat insulation in one package. In a few months we'll see how effective the additional cost proves to be...

In go the roof batts
On goes the steel roof.
It took approximately 2 days to get most of the roof on.
The whole roof was clip-locked in place with no nails breaking the surface.
Here's a shot of the metal capping bent over the double brick outer wall.

We used an additional 4.5 rated insulation under the standard roof batts to help
cut out the heat and the noise from rain, hail and possums...
Acoustic batts waiting to  be gyprocked into the guest bathroom ceiling

Apparently gyprocking is cheaper than real plastering - but it's no less messy!
Three weeks after we got back from Cuba the painters turned up to apply an undercoat sealer to the exterior render.
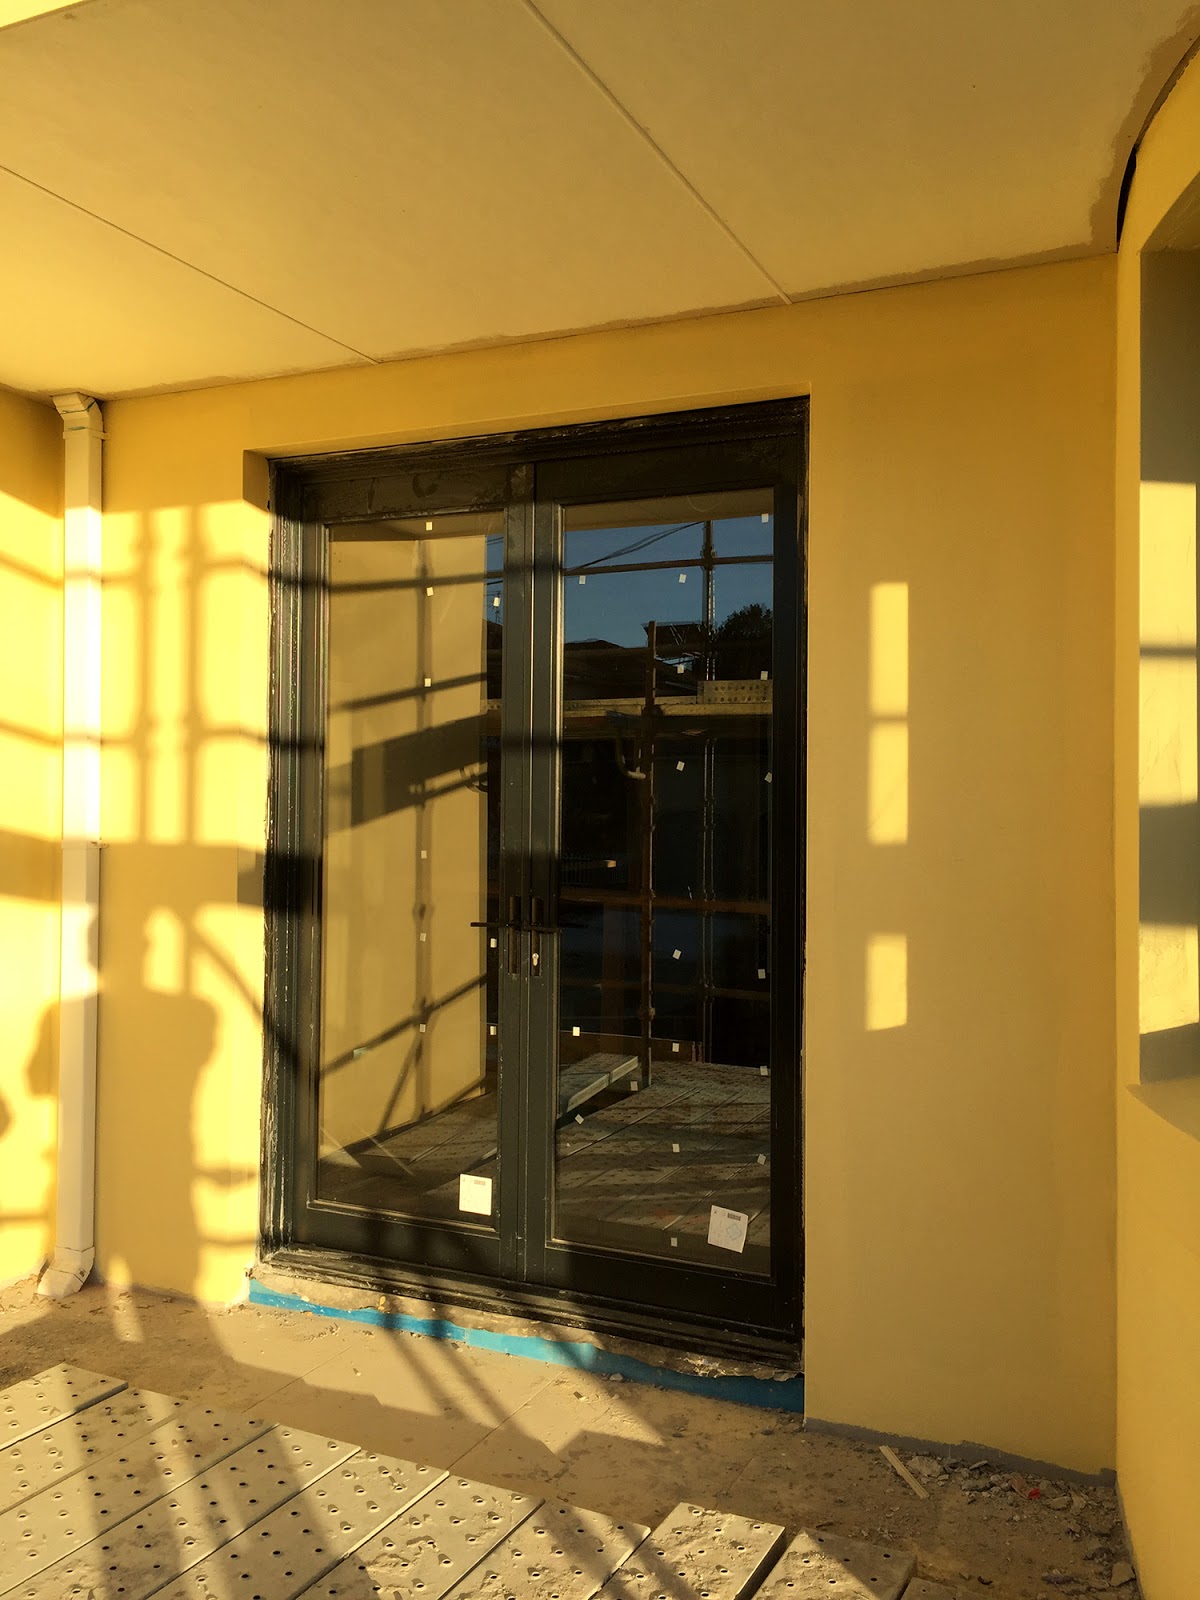
Close up of one of the (expensive) commercial grade aluminium windows after the renderers have been through...
And joy of joys, the tinted undercoating goes on.
This is crunch time because it's so hard to judge, from a sample pot no larger than a small Vegimite jar, how the final colour will look on the house.

What we both did not want was the sort of bland house colour that all new houses seem to be painted these days
'cement', 'stone', 'taupe', 'moss', 'mould', 'muddy grey' (greige), virus and mushroom.
I think we succeeded!

Robin going into the house to check if anything else had been done today!
It's unfortunate living so close to the building site because I can go there nearly every day so get to witness, first hand, how excruciaitingly slow most of this process can be...

Monday 9 May 2016

Using Lightroom's Retouching tools to (Batch) Remove Sensor Spots

I never knew you could do this in Lightroom but, thanks to a recent Q&A from a student, here's a quick tutorial on how to remove sensor spots from multiple images at the same time.  Yes, you can Clone those nasty sensor spots off the first image then copy the Spot Removal action, select multiple similar files, syncronise them, then paste the spot removal actions onto the synchronised files. Works well...

Friday 6 May 2016

Vivid Night Photography Workshop May 30th, 2016

Back again this year - if you'd like to learn the art of night shooting at this iconic light-fest join me for a night workshop on May 30th (yes, that's a Monday night.  It's an attempt to avoid some of the massive weekend crowds...). We'll walk from the Opera House all the way round to Walsh bay and back. Learn how to shoot night images, long exposures, bracketing (for HDR imagery), time lapse, and more...

Before the light show
(HDR processed in Aurora HDR Pro)
Email for more details about meeting times, equipment suggestions, meeting point, etc...
betterdigitalmag@gmail.com

One minute exposures under the bridge
Two zoomed pictures put together as a kalaidoscope image in Photoshop Elements
Four zoomed frames put together as a kalaidoscope in Photoshop Elements

Thursday 5 May 2016

Tuesday 3 May 2016

How to Automatically Align Images for the Perfect HDR Registration

Although most good HDR software apps have effective auto-align features built into the program, if you have moved your camera radically between shots one, two and three, you will get an HDR result that is not always 100% sharp.

Answer, use Photoshop's very effective Edit>Auto Align Layers feature.

Here's a short tutorial on how to take multiple frames (shots of the same subject), and get them perfectly aligned using Photoshop. Unfortunately this feature isn't yet available in Elements..


Photoshop AutoAlignLayers from Robin Nichols on Vimeo.

Sunday 1 May 2016

Always Remember to Practice Photoshop!

While on the same political message theme, here's another in my bad Spanish:
"Don't forget to practice Photoshop!"